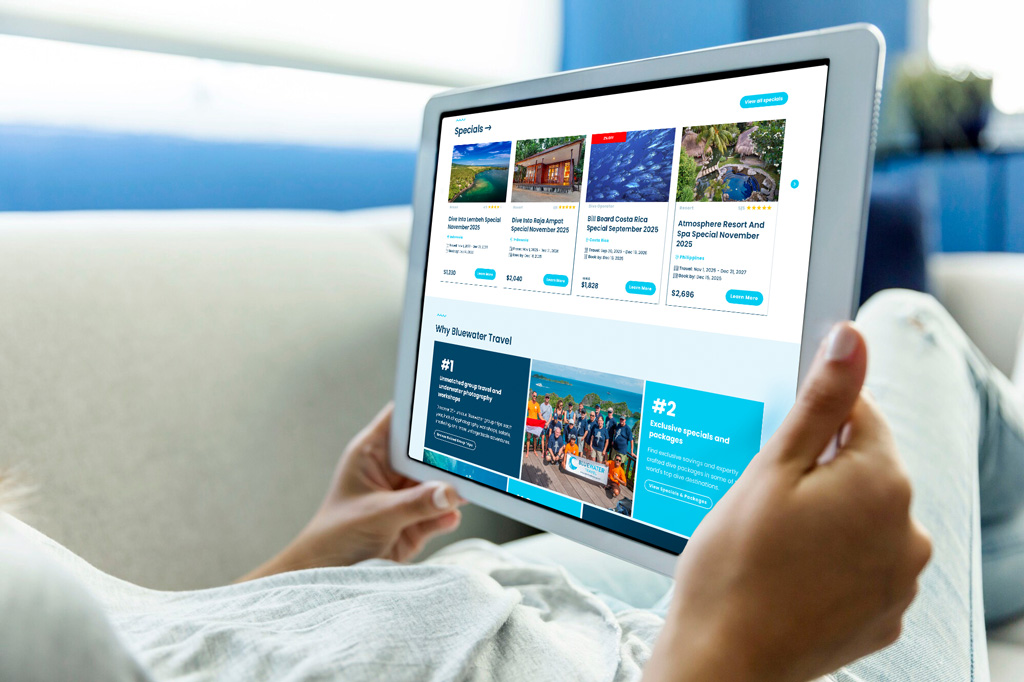
Merlin Archery is a large-scale eCommerce platform built on Adobe Magento 2 for the #1 archery retailer in the UK & Europe. The frontend is intentionally clean and functional, while the platform’s real strength lies in a highly customised, backend-driven architecture. The solution was engineered for high traffic, operational complexity, and long-term scalability.
Key challenges included supporting high-volume traffic and large daily order throughput, alongside a large catalogue with advanced inventory logic. The build also required integrating multiple external stock sources while maintaining strong performance, security, and reliability during peak periods.
Delivered a custom inventory management system with AI-driven stock availability, plus optimised checkout and caching for speed and stability. The platform includes POS integration, multi-store regional support, and enhanced security hardening, supported by bespoke operational reporting for day-to-day efficiency.
Massive speed improvements across stock logic, imports, and search.
AI-driven statuses and multi-source inventory drastically reduced errors.
High-volume order handling now significantly more efficient.
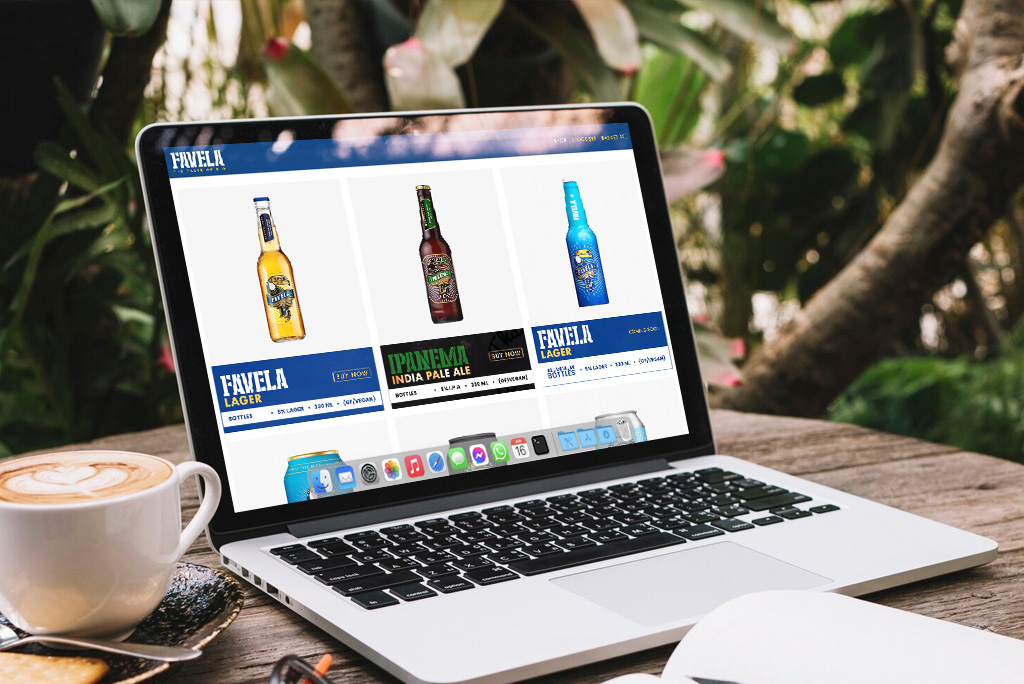
Favela Cerveja is a modern eCommerce store built on Shopify for a fast-growing craft beer brand with a bold and distinctive identity. The project focused on delivering a visually striking, mobile-first experience that reflects the energy and personality of the brand. Design, storytelling, and usability were the primary drivers behind the build.
The key challenge was translating a strong brand identity into a digital experience that feels engaging and memorable across all devices. Ensuring a smooth user journey, fast performance, and visual consistency while keeping the platform simple and scalable was essential.
The store features a bold, responsive design with customised Shopify theming and immersive product presentation. Optimised performance, intuitive navigation, and a streamlined checkout provide a seamless shopping experience. The foundation is built to support future growth, campaigns, and an expanding product range.
Modern visuals dramatically improved mobile performance.
Bold, energetic UI increased user retention.
Brand-first design drives loyalty.

Best4Balls is a highly customised Magento 2 eCommerce platform built for a leading UK retailer specialising in personalised golf balls, apparel, and promotional products. The entire business is centred around a bespoke product personalisation engine, enabling customers to create unique, made-to-order items in real time. This long-term project represents one of our most advanced frontend–backend integrations.
The primary challenge was supporting complex real-time personalisation workflows where every order is unique and production-ready. Ensuring performance, accuracy, and scalability during high-volume and seasonal peaks required careful engineering across both frontend and backend systems.
The platform includes a fully custom-built product personalisation system with live previews, multi-layer designs, and automated artwork preparation. Optimised performance, mobile support, and production-ready workflows ensure smooth ordering and fulfilment. A multi-store setup, custom reporting, and long-term performance tuning support ongoing growth and stability.
Real-time personalization leads to higher checkout rates.
Interactive customizer keeps users on the page longer.
Automated artwork files drastically reduce manual work.